
Here is a second installment from our apprentice…
A satisfying consequence of learning framing is refurbishing a rather tired old picture and giving it a new lease on life. It’s part of the reason I asked Tim to take me on as an apprentice, actually: I knew some of my pictures were looking drab, but didn’t have a clue how to fix things.Cleaning up and ‘freshening’ a tired picture is one of the pleasures of the job, I find. Lots of things to play with: you can redo the frame – lighter or heavier or a different colour/finish; change the proportions; alter the colour of the mounts; adjust the depths of the surrounding mounting board, introduce another colour via an extra mount; change the glass type – infinite opportunity! You get to be creative AND practical…which is something I crave. So, this week I tarted up a picture.
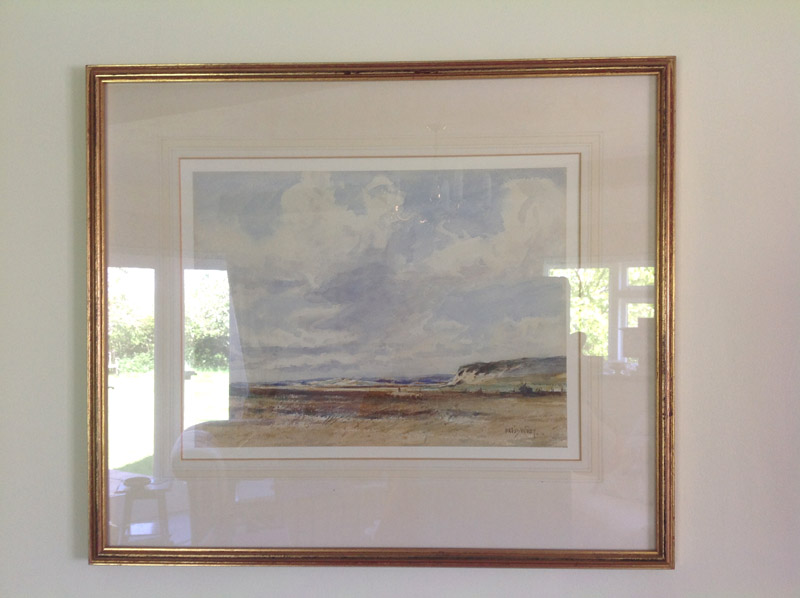
The Scottish scene before reframing...

The Scottish scene before reframing…

A watercolour by a famous Scottish artist, which had been framed with the cheapest possible materials, all of which had faded, leaving the image adrift in a sea of beige and grey, in a skinny little frame. The Scottish watercolour was my first ever ‘triple mount’ effort. I wanted a clean space around the artwork, and then a band of colour to echo/enhance the colours in the picture. But I didn’t want that band of colour to ‘swamp’ the picture, so a third mount gave me room to emphasise the ‘clean space’ and project the actual artwork. It needed a new frame to balance the whole.
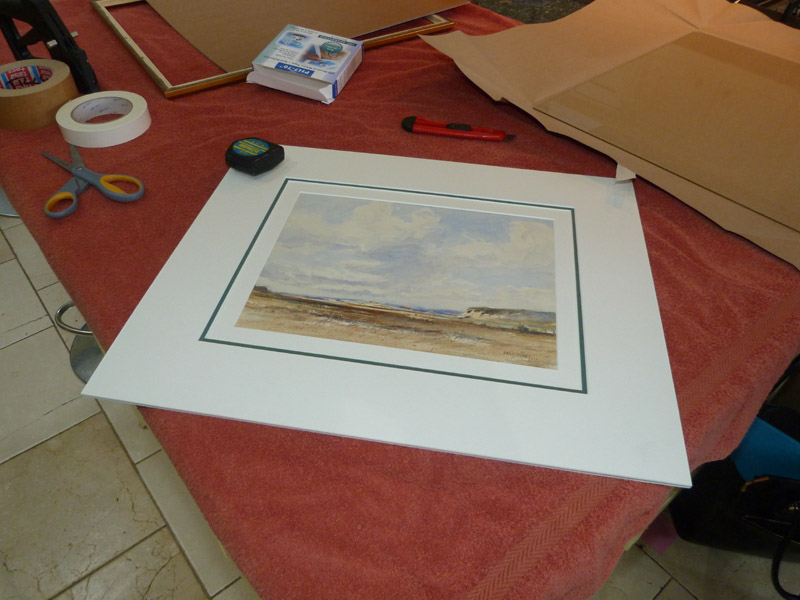
Work in progress...

Work in progress…

Tim was absolutely right: the frame I picked was ‘touch-and-go’ to accommodate the glass, three pieces of mounting board plus image and then add the back. But I managed it. Never underestimate the determination of the Newbie…
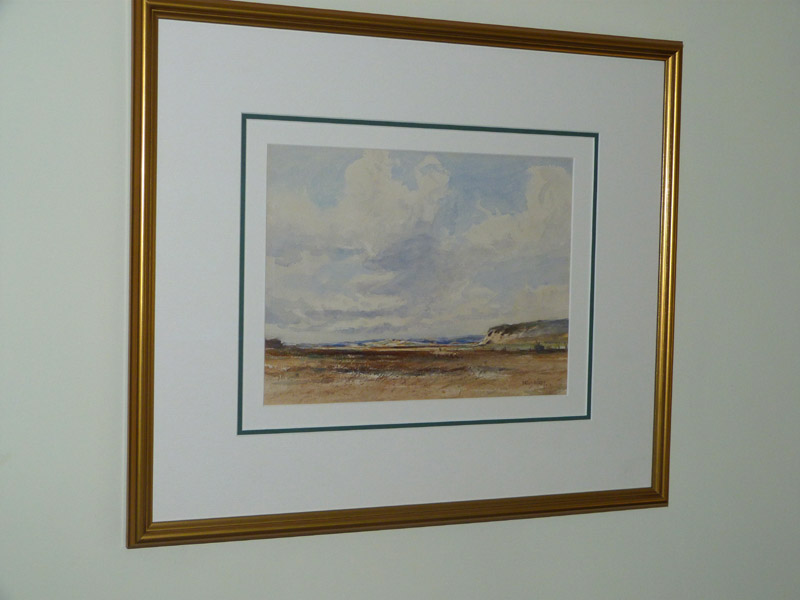
The completed frame back on the wall...

The completed frame back on the wall…